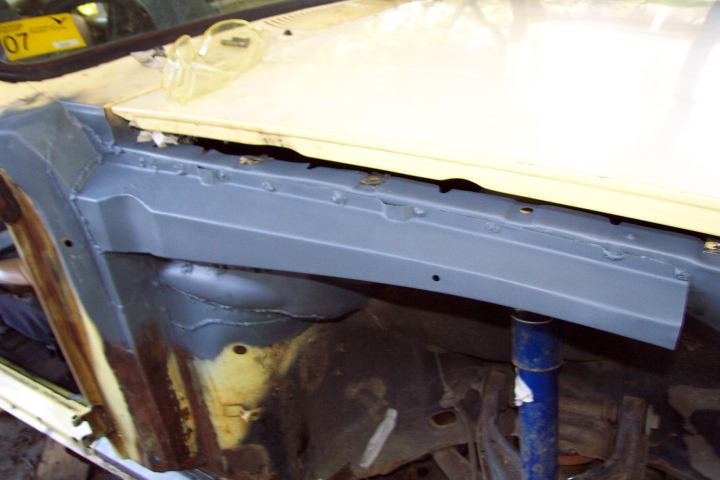
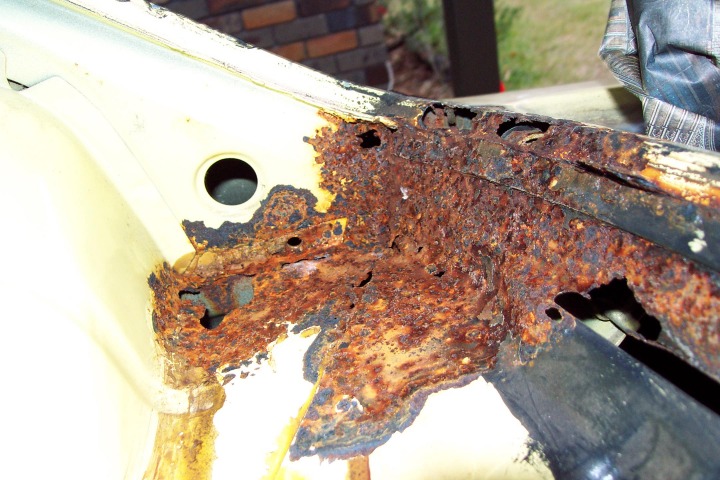
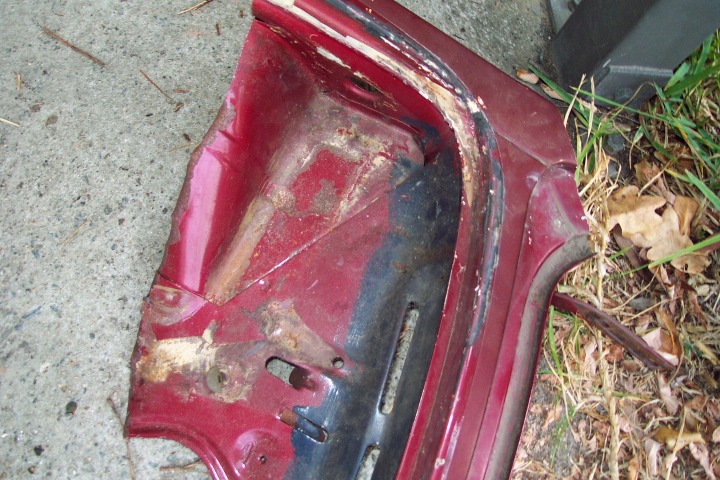
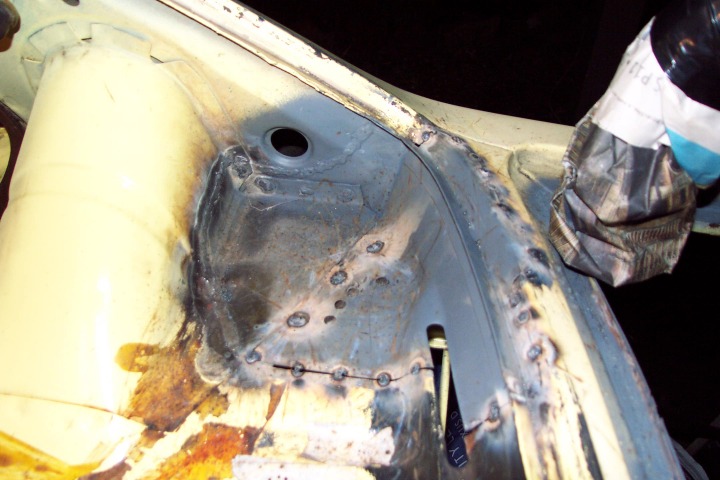
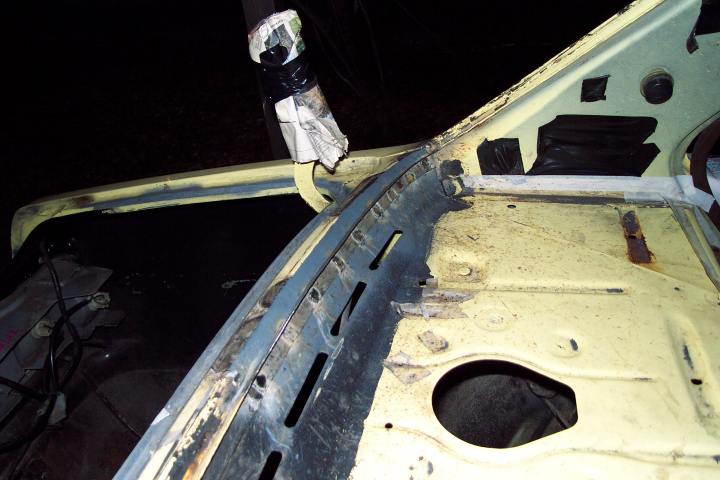
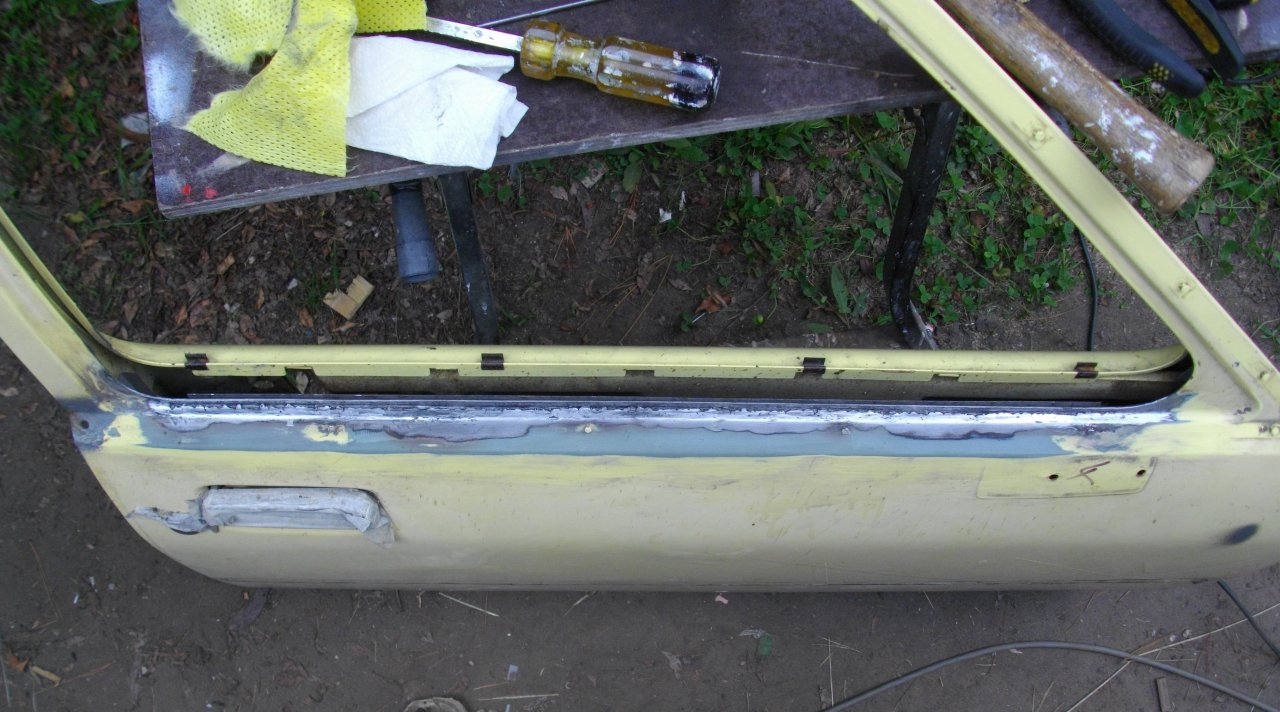
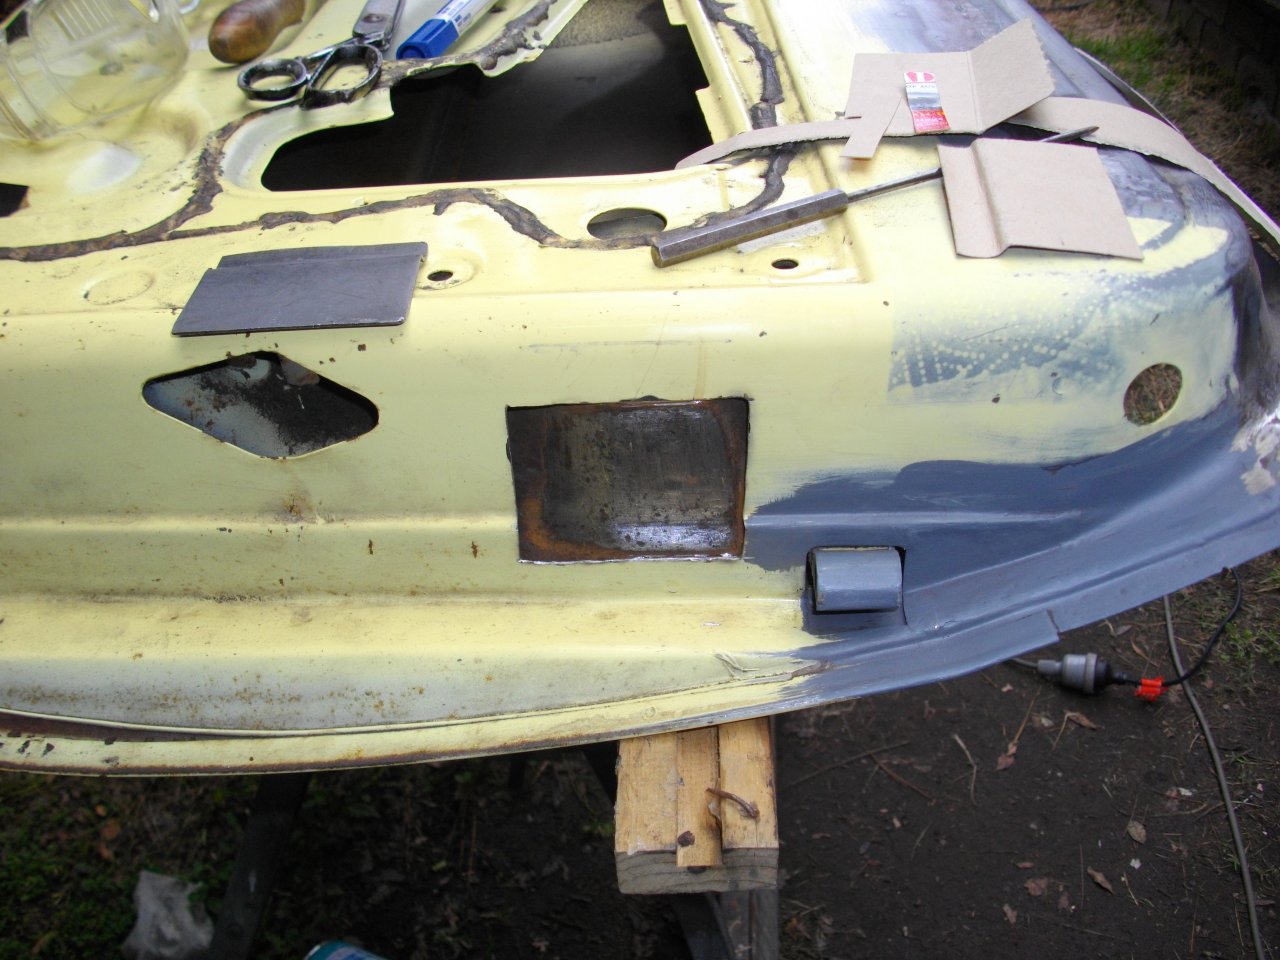
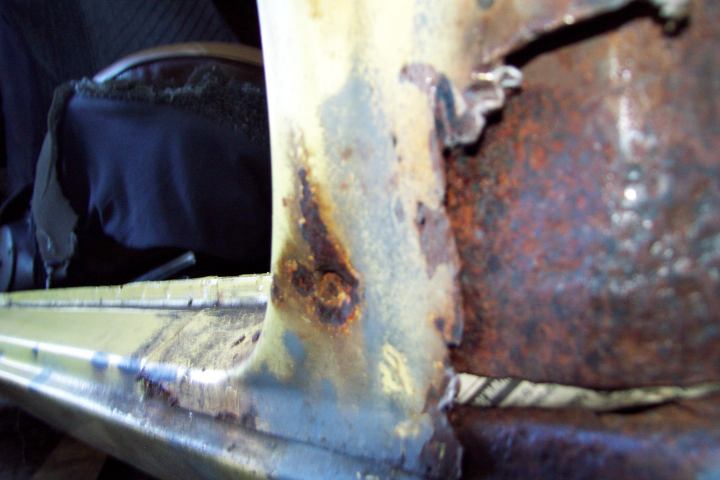
Bit of rust there, and yet another f*#cked up spot weld courtesy of the retards at Holden's Brisbane plant..
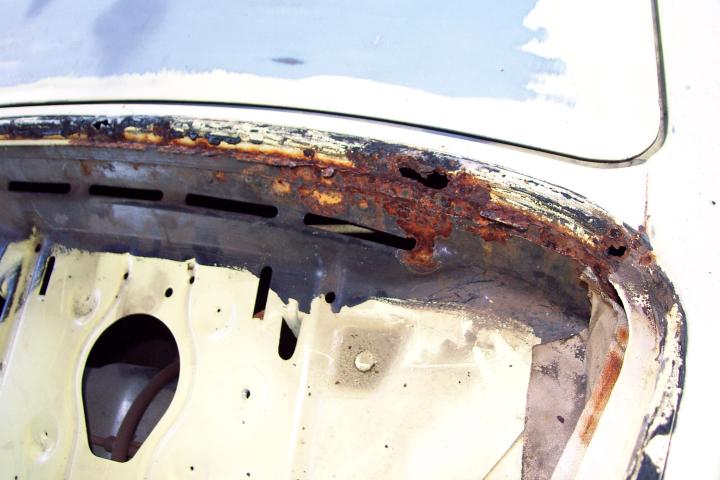
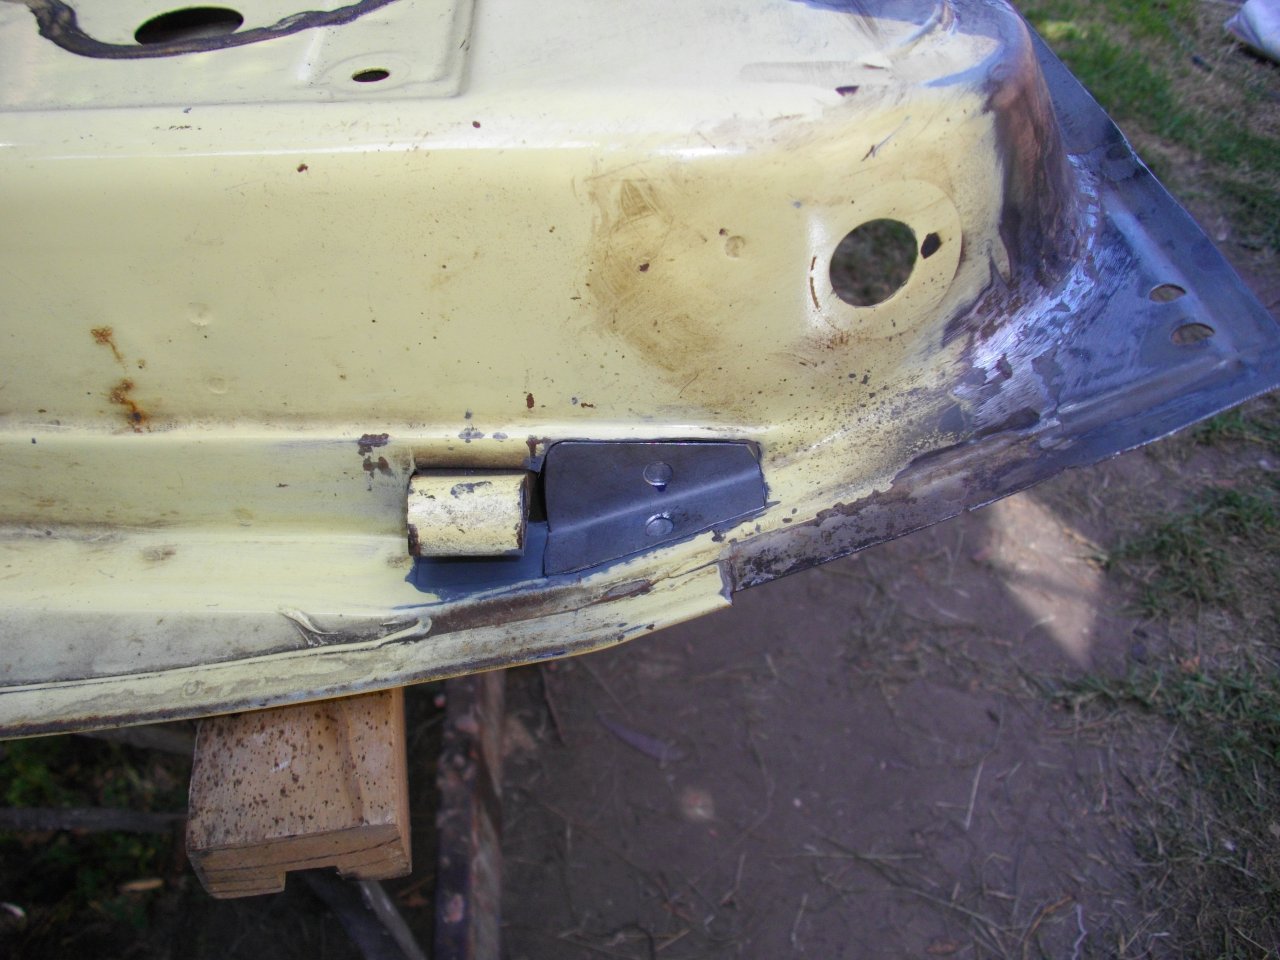
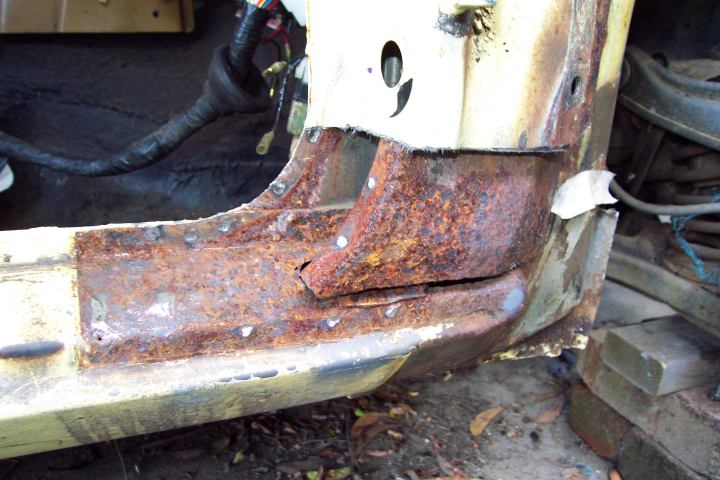
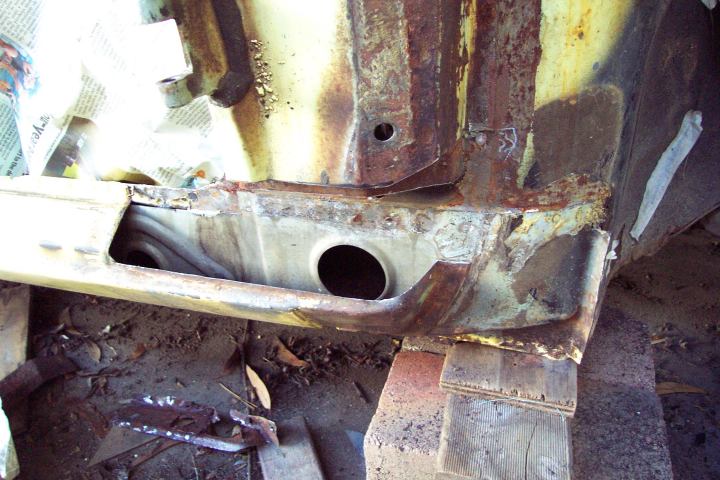
Corner didn't look too bad until I removed it to reveal all this rust, few pin holes on the bit where the pillar and sill are sandwiched together. Inner pillar is pretty stuffed too.
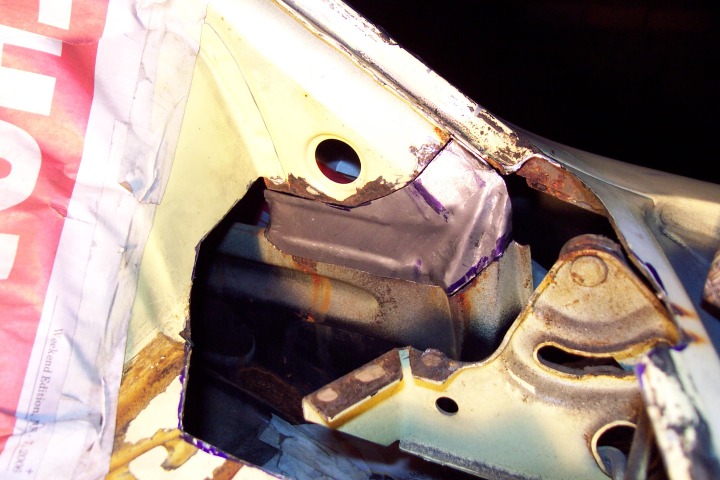
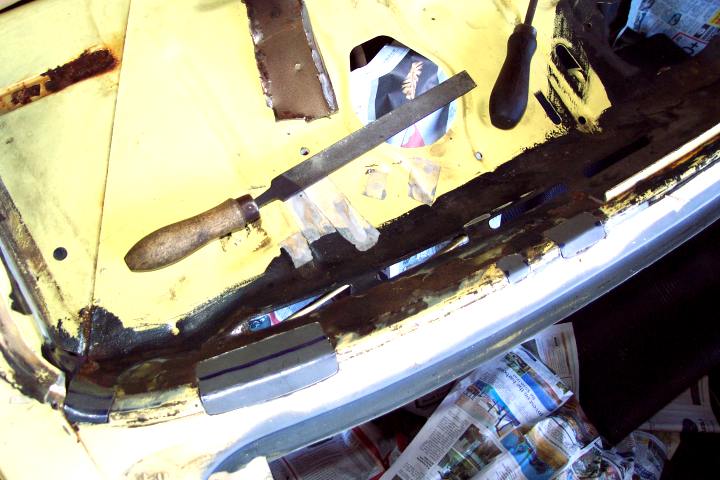
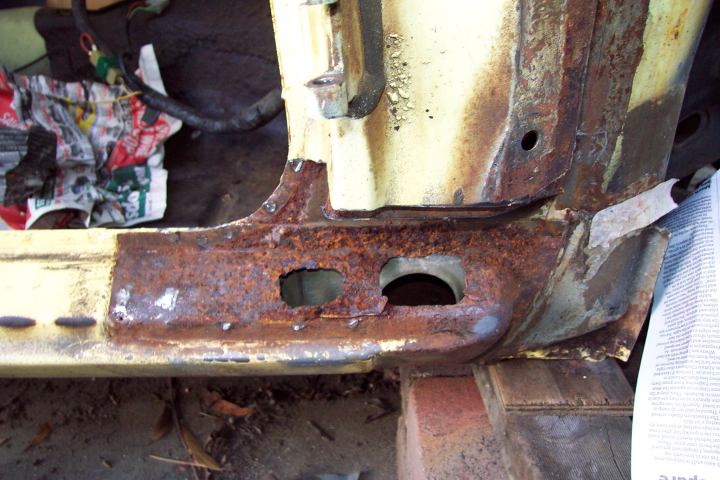
Cut the bottom of the inner pillar off so I could get access to the top of the sill end. There was originally a cover welded over those 2 rectangular holes. It had completely rusted away and all the rust was sitting in the sill. Lucky inside the sill is zinc plated it actually survived!
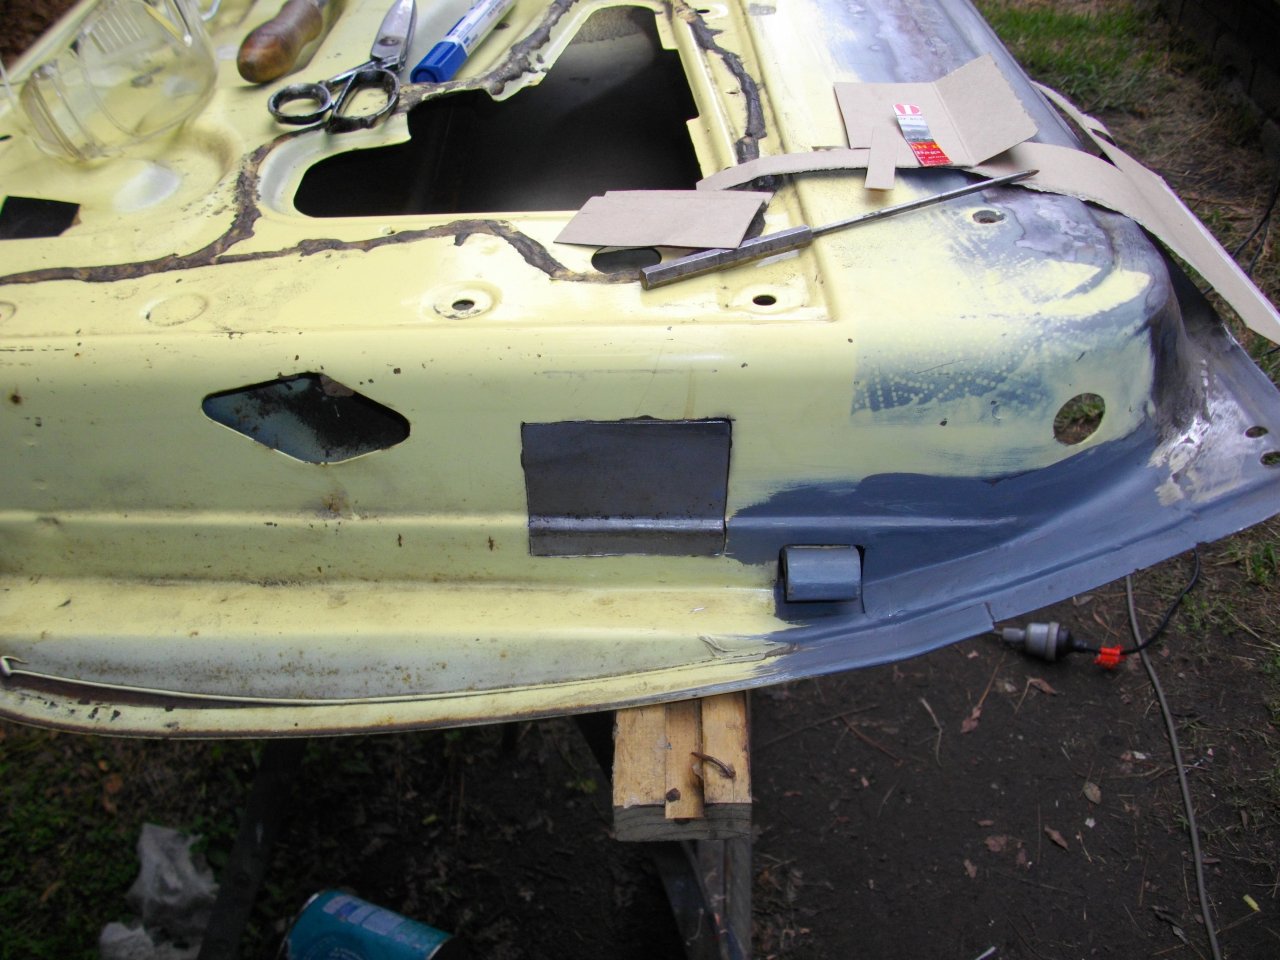
Chopped all that rusty s*#t off the sill
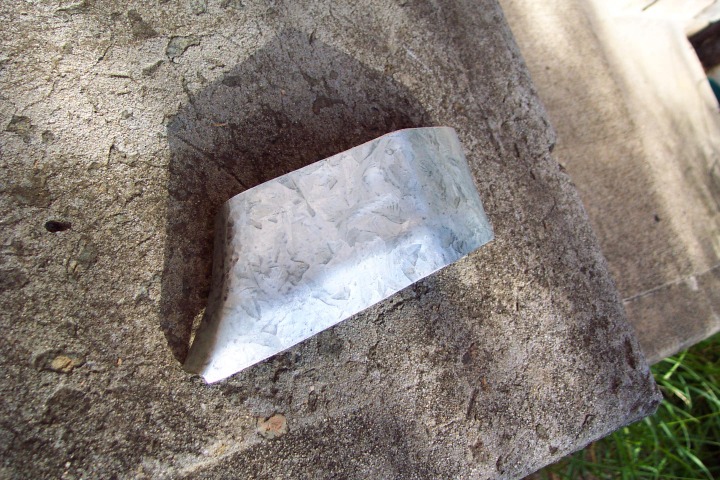
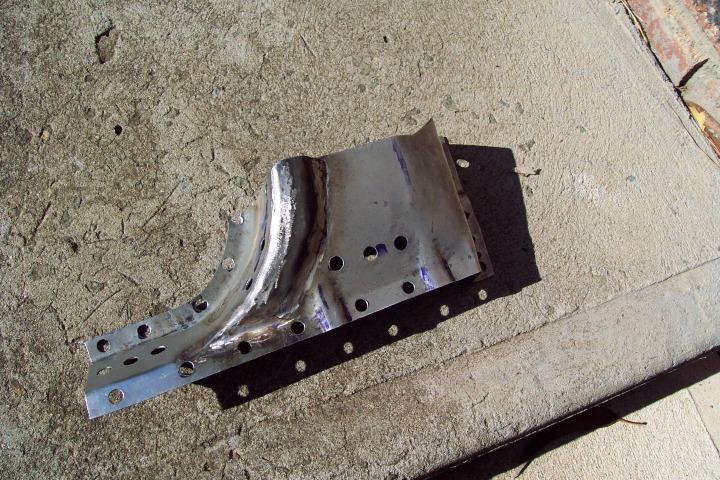
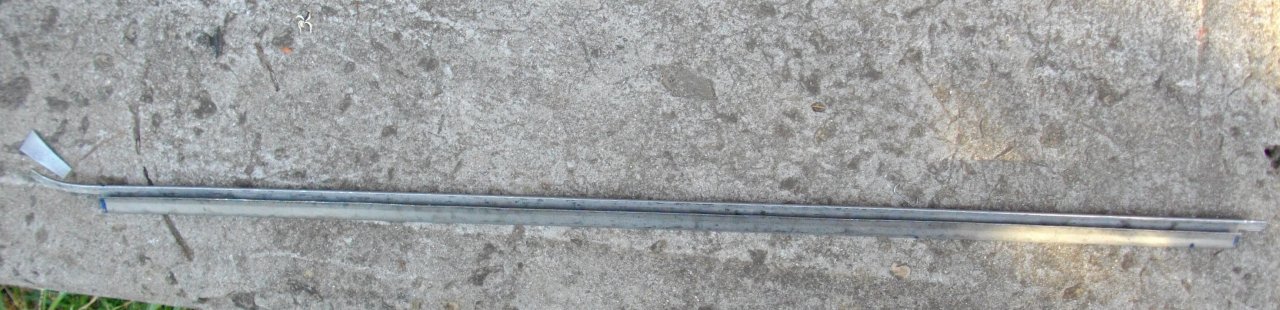
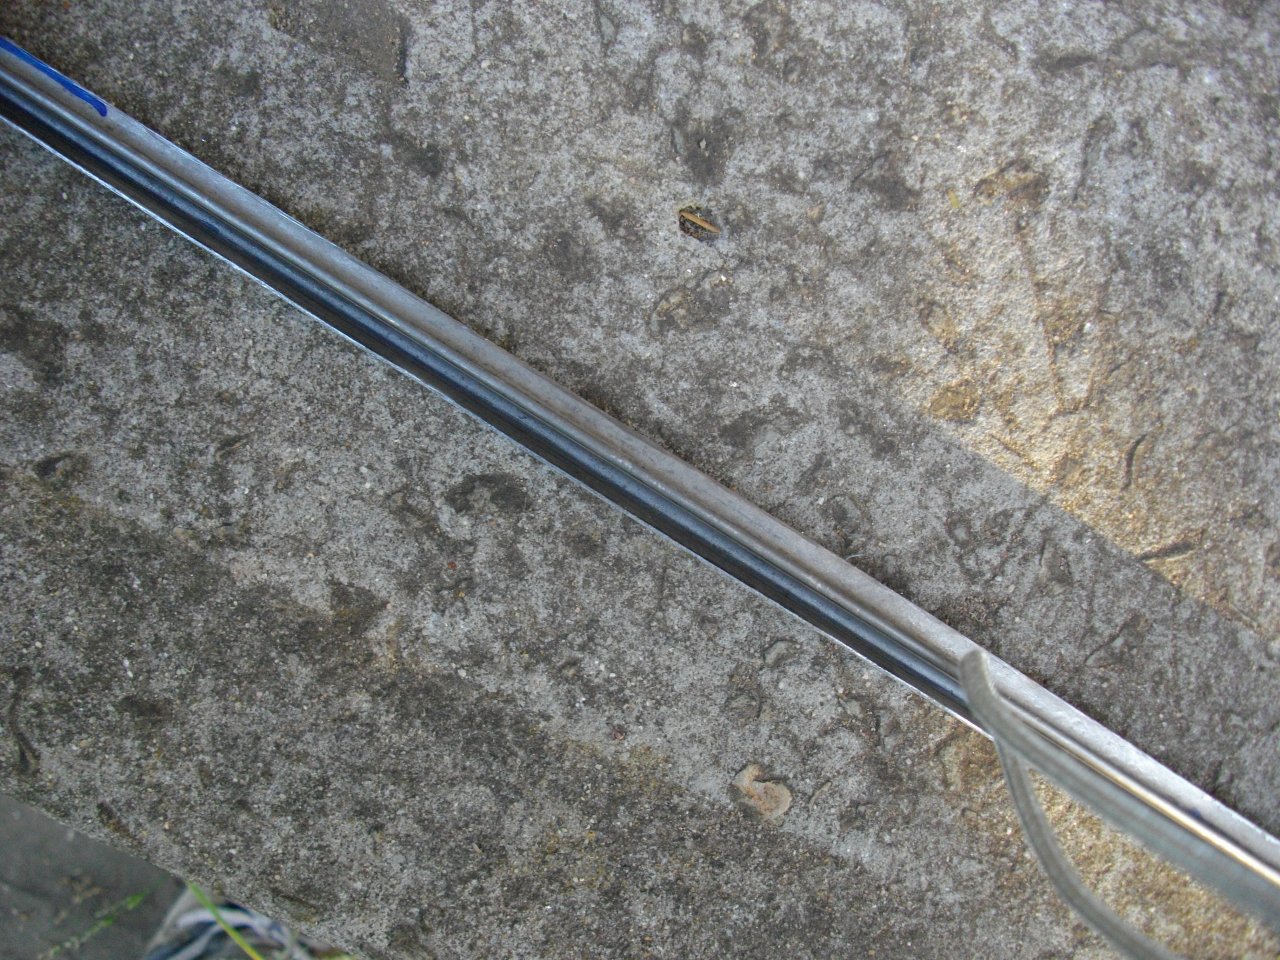
Got out the bender, hammer and anvil and came up with this
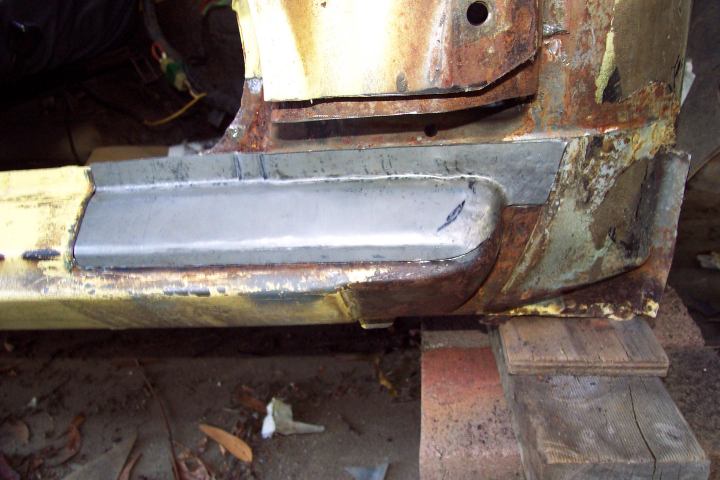
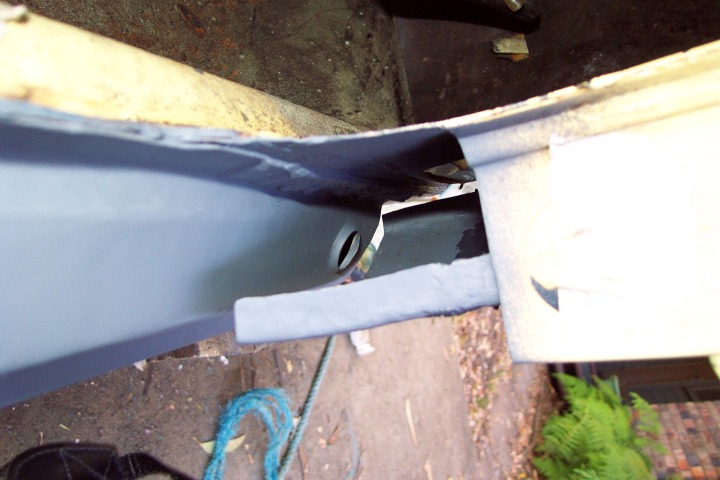
Rather than cutting those 2 big holes in it like original and then welding a cover over the top of the holes I just left those holes out and made a single fishoiling hole, and drilled out the holes for plug welds where the original spot welds were.
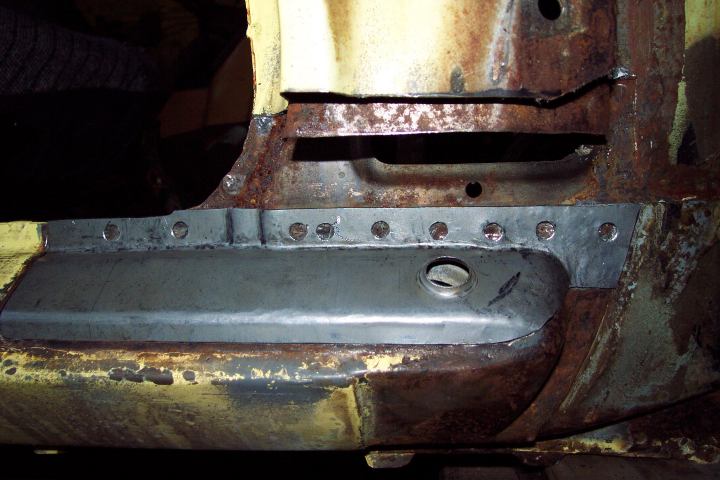
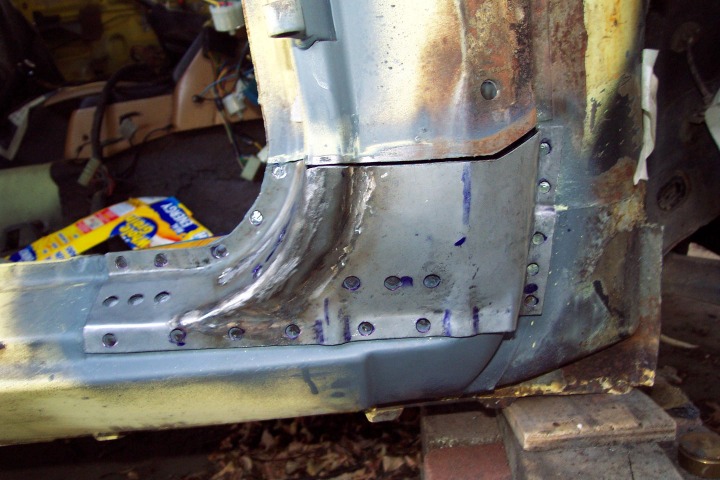
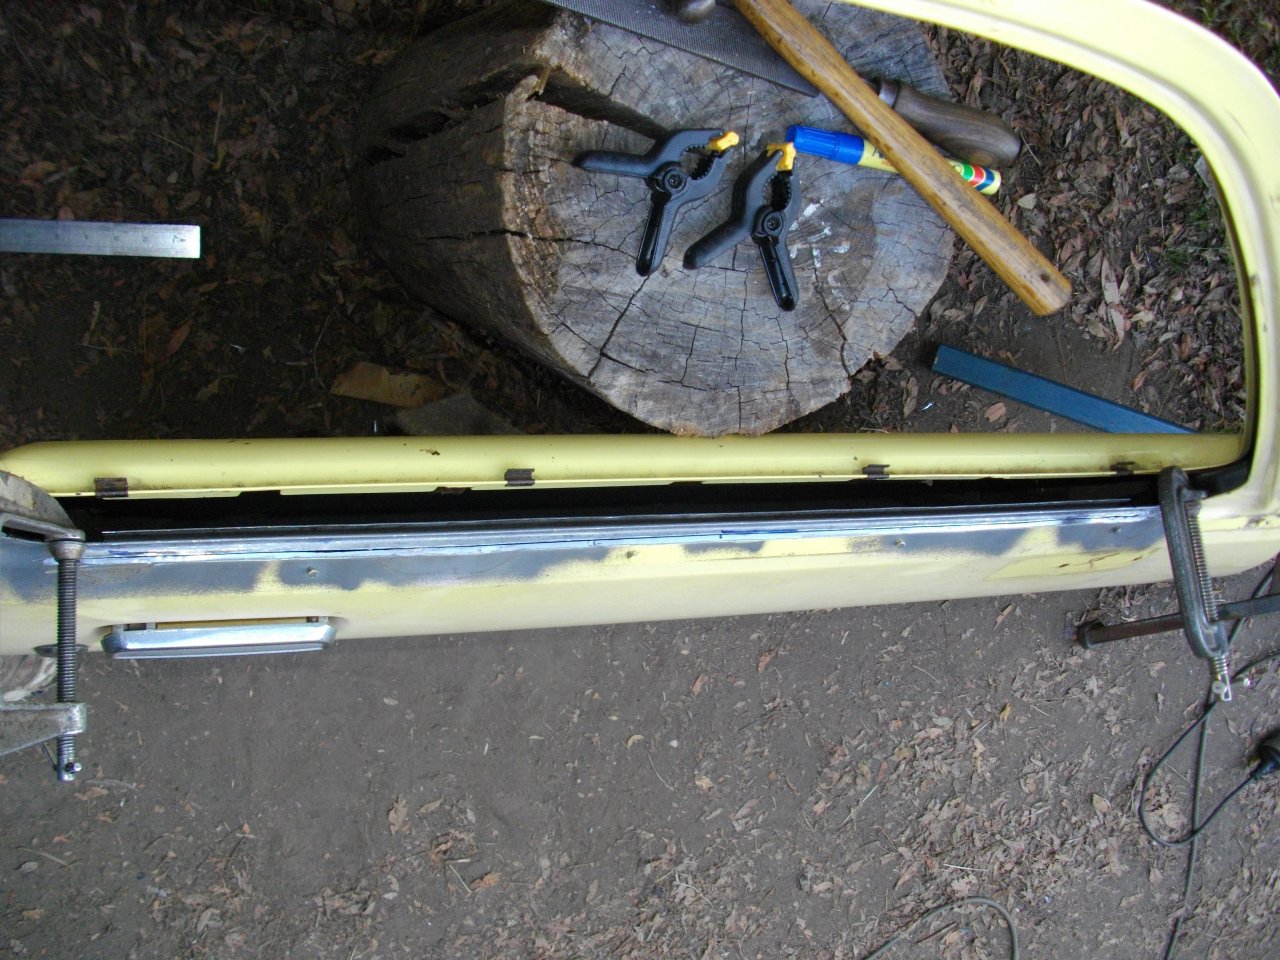
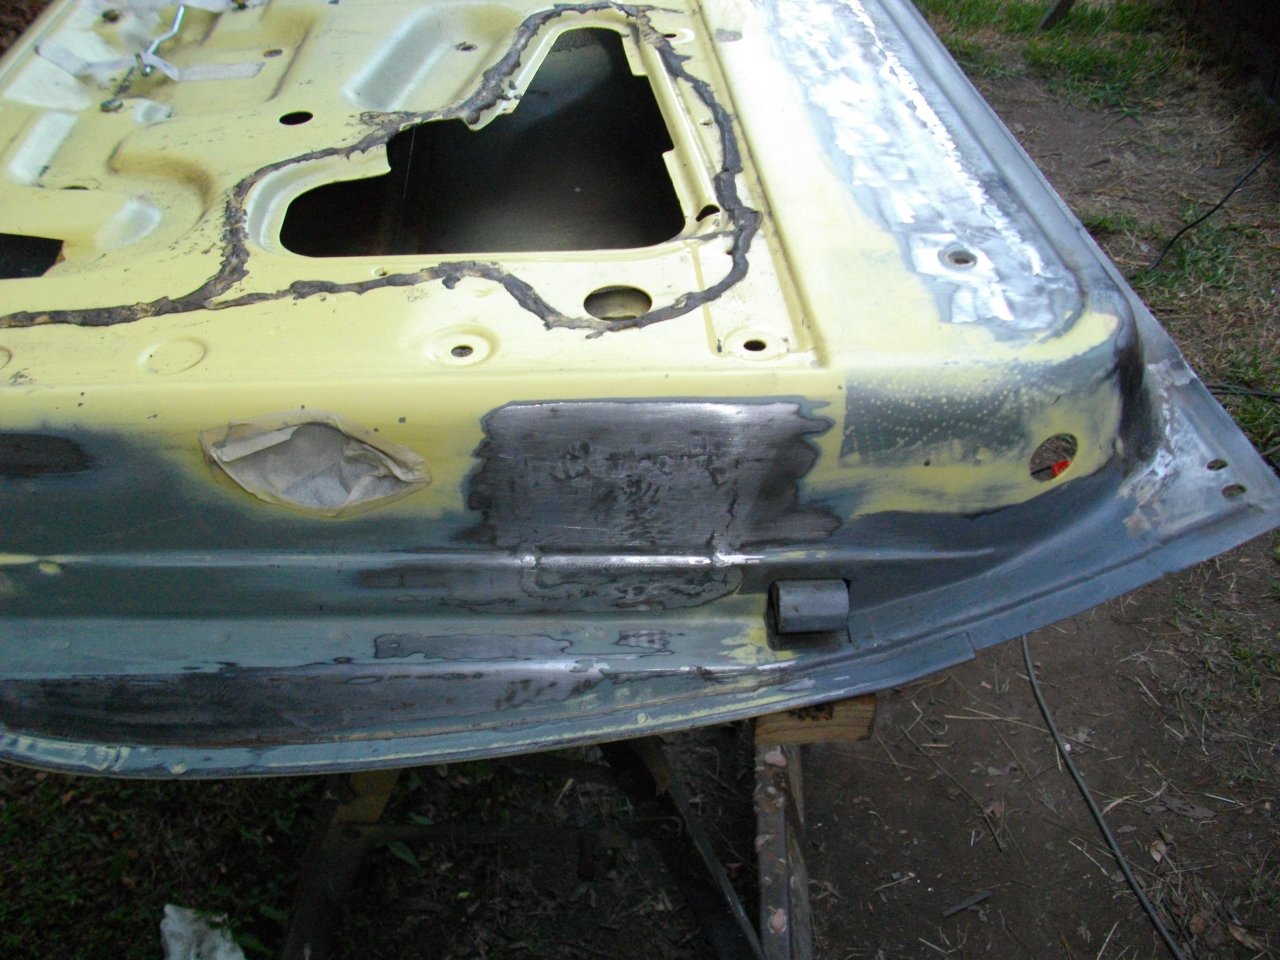
Now I have to clean up the surface rust around there, and weld the bit on.
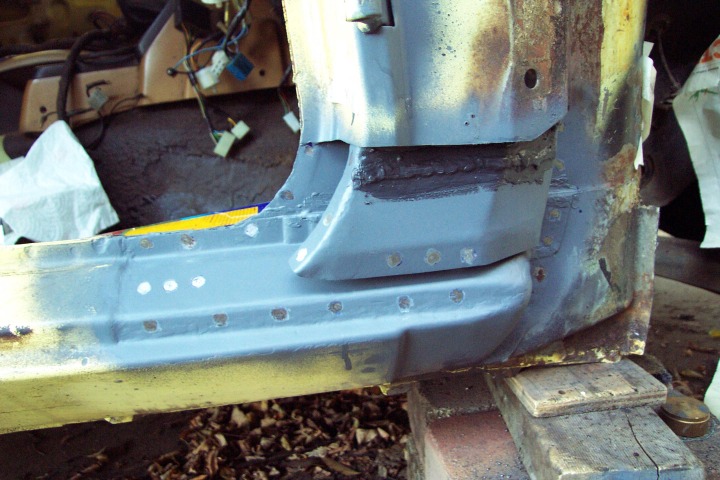
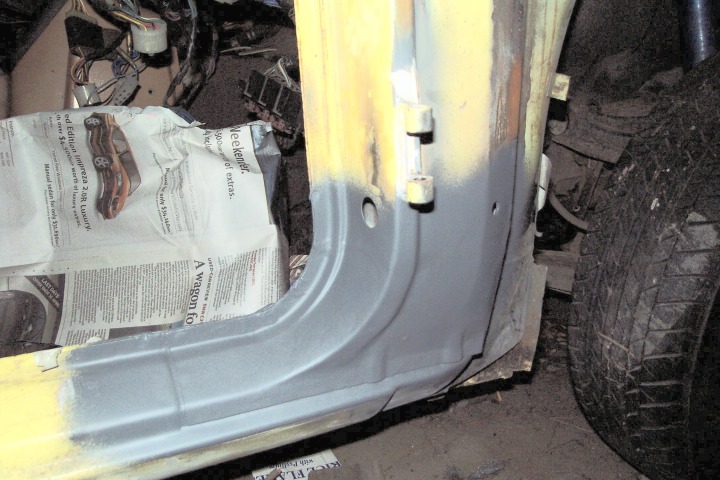
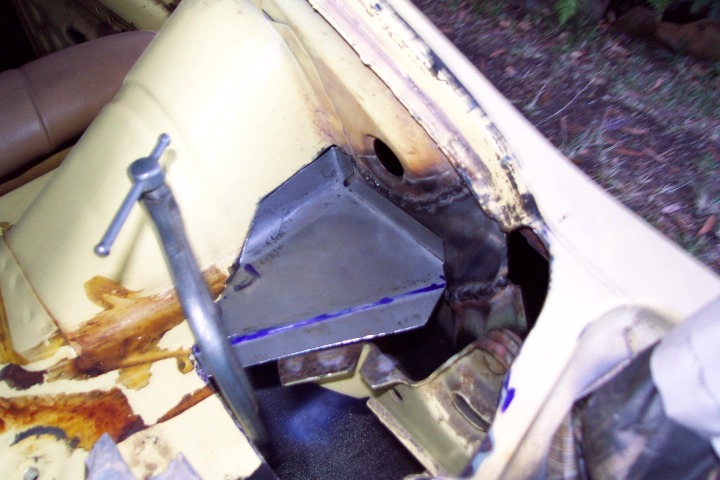
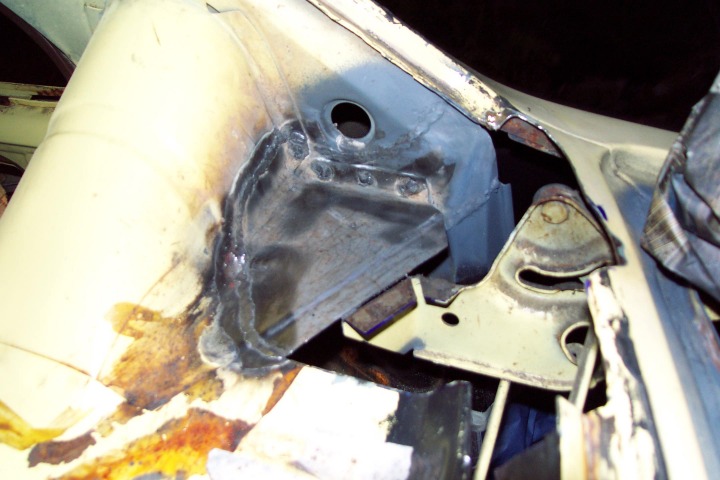
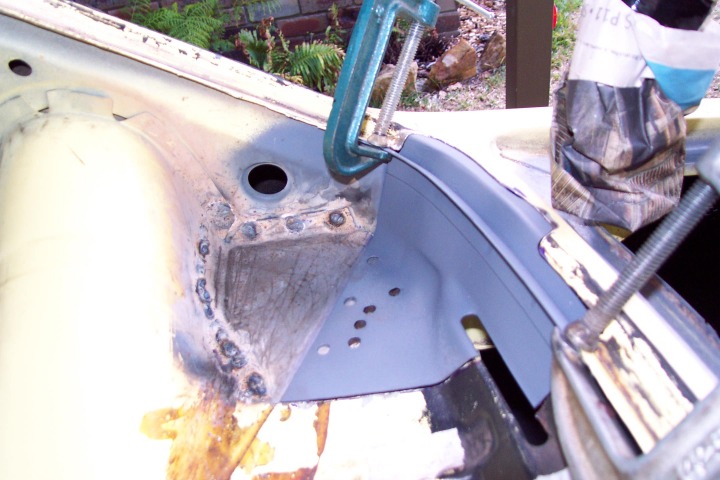
I also welded that new box thingo onto the side of the engine bay. Had to replace a small section of it at the top corner.