In the past I have stated an opinion that if a shel had rust in the sub frames it was crusher material. However good shells are getting hard to find plus any one listens to thier own opinion has a fool for an advisor. And this repair was actually easier than I expected.
First the problem.
a. water gets between the floor and the top of the sib frame
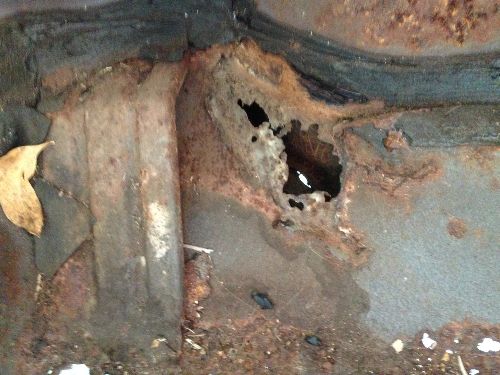
b. leading to a hole that lets water in and soon there is a hole in the bottow of the sub frame
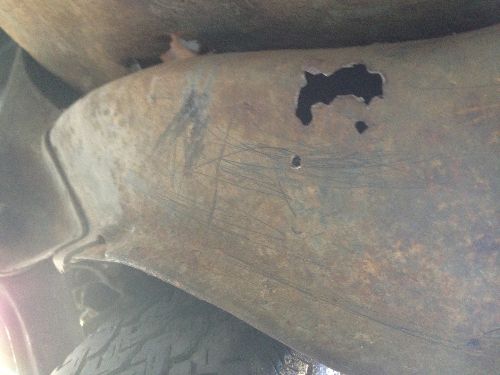
c. Then, egads! the wole section of botton cord is cactus.
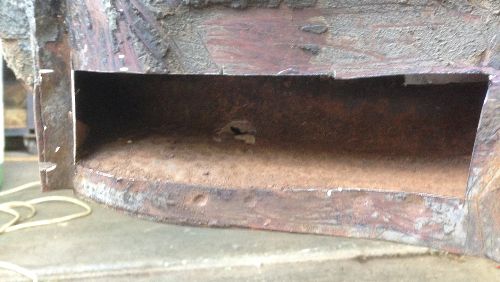
The solution to the top hole was a a patch with new 2mm sheet. The top of the subframe is flat so an easy fix (except for all the de spotting)
Bottom cord was affected up into the rear lower control arN mounting (RLCAM). I found that the best place to join in the repair piece weas 8mm into the RLCAM, just shy of interfering with the spot welds. Leave and small gap and the weld not only joins the the two lower cords but also the RLCAM - and the weld is undetectable.
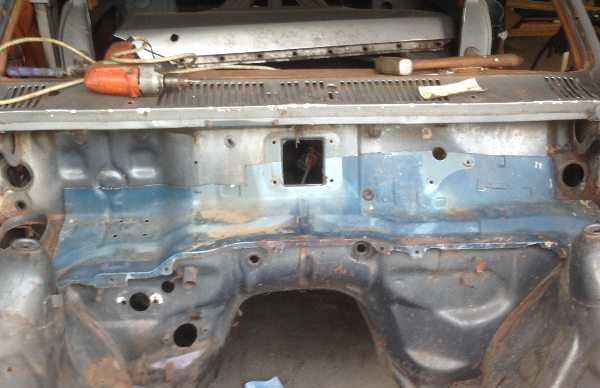
To get the RLCAM you need to remove some of the inner guard covering the "C" shaped sub frame (it is probably rusty at the bottom) and cut a bit from the brace for the suspencion mounting. My replacement piece extended rear to the jack points in the sill - which is part of the same subframe.
Also a section of the floor pan has to go.
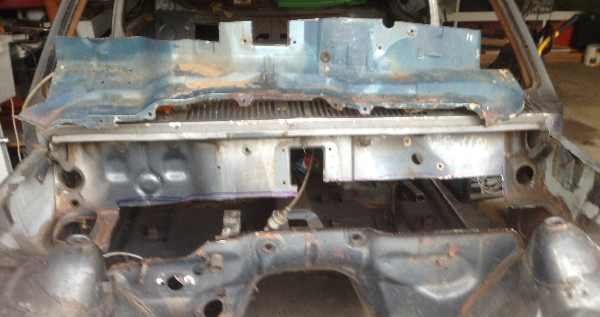
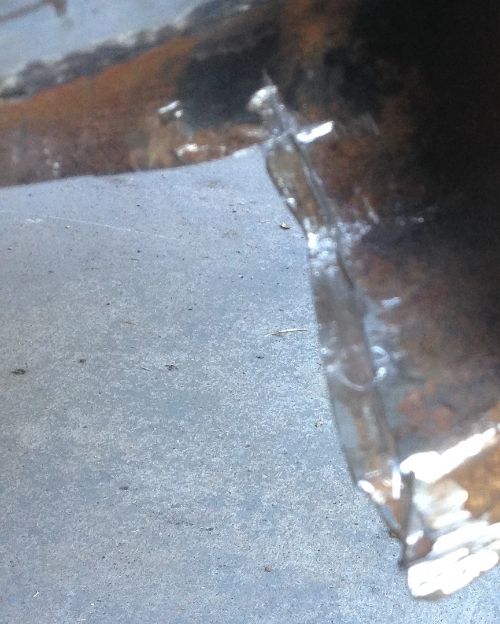
See below repair piece in position for welding. Took about 12 iteration with marked pen and grinder to get a perfect alignment with nthe main cut 10 to 20 mm up from the base the sub frame - from the top inner corner of the RLCAM back.
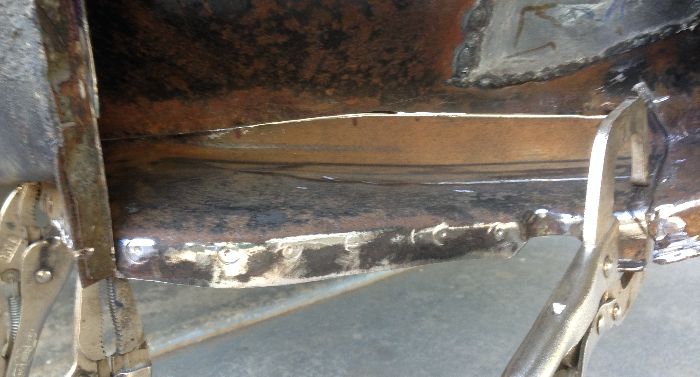
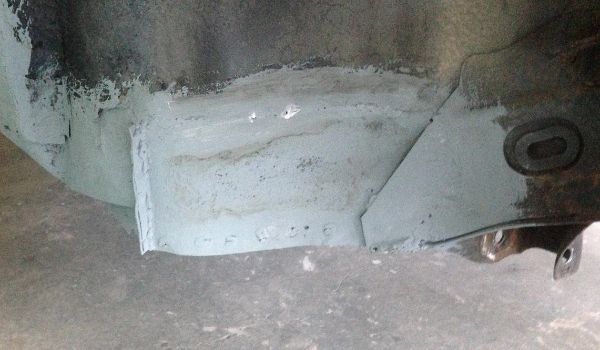
Picture of the sub frame atter welding, flapping disk and coat of cold gal. The repair piece is welded on both sides.
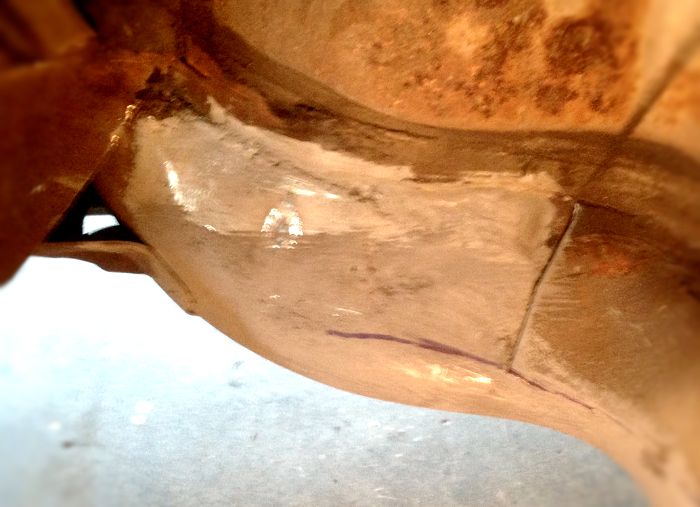
Don't bother looking for the joint, it cannot be detected.
Replace the inner guard (patch from the repair piece) and weld in a new piece of bracing. All done.